How to set up your Business Email in Microsoft Outlook 2013?
Follow steps below to set up your Business Email in Microsoft Outlook 2013:
Step 1 : Open Microsoft Outlook 2013 and click on Next
Step 2 : Select Yes here and click on Next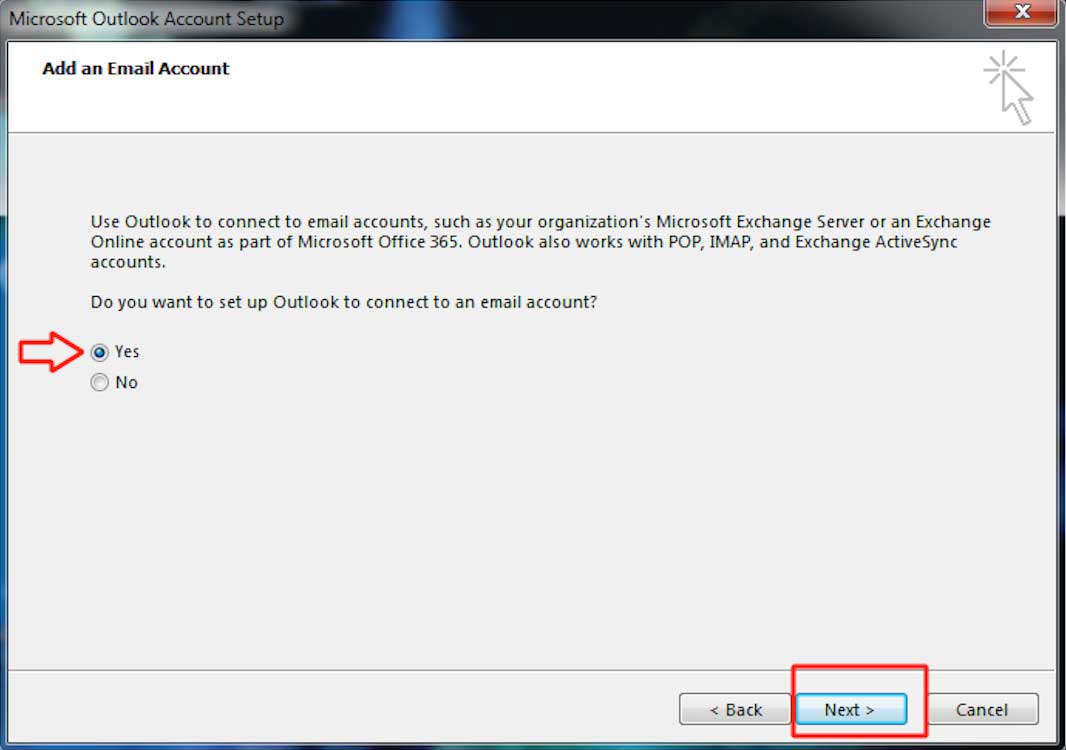
Step 3 : Select Manual setup or additional server types
Step 4 : Click on Next
Step 5 : Select POP or IMAP and click on Next
Step 6 : Provide user information, server information, and logon information in the highlighted fields. Select IMAP in Account Type and follow the steps below to get Incoming Mail Server and Outgoing Mail Server details:
(i) Go to Appy Pie and login
(ii) Open Profile Menu and click on My Domains
(iii) Go to Business Emails
(iv) Click on Manage Settings
(v) Click on Manage
(vi) Here is your host name for Incoming Mail Server and Outgoing Mail Server

Step 7 : Click on More Settings
Step 8 : Go to Outgoing Server
Step 9 : Tick mark the highlighted checkbox, and go to Advanced
Step 10 : Select SSL in encrypted connection type of Incoming Server and Outgoing Server
Note – If you select SSL, you need to enter “993” in Incoming Server field and “465” in Outgoing Server field, else enter “143” in Incoming Server field and “25” in Outgoing Server field
Step 11 : Click on Ok
Step 12 : Here is the list of completed tasks. Check and click on Close
Step 13 : From here you can add another account. Once done, click on Finish