How can I get my Google account Client ID and Client Secret key?
Follow below mentioned steps to get your Google Client ID and Secret Key:
Step 1 : Go to Google Developer portal

Step 2 : If you have just created Google Developer account, you need to click on Agree and continue button to get into your Google Console account. However, if you have already accepted Terms & Conditions, then skip Step 2 & 3, and follow the tutorial from Step 4
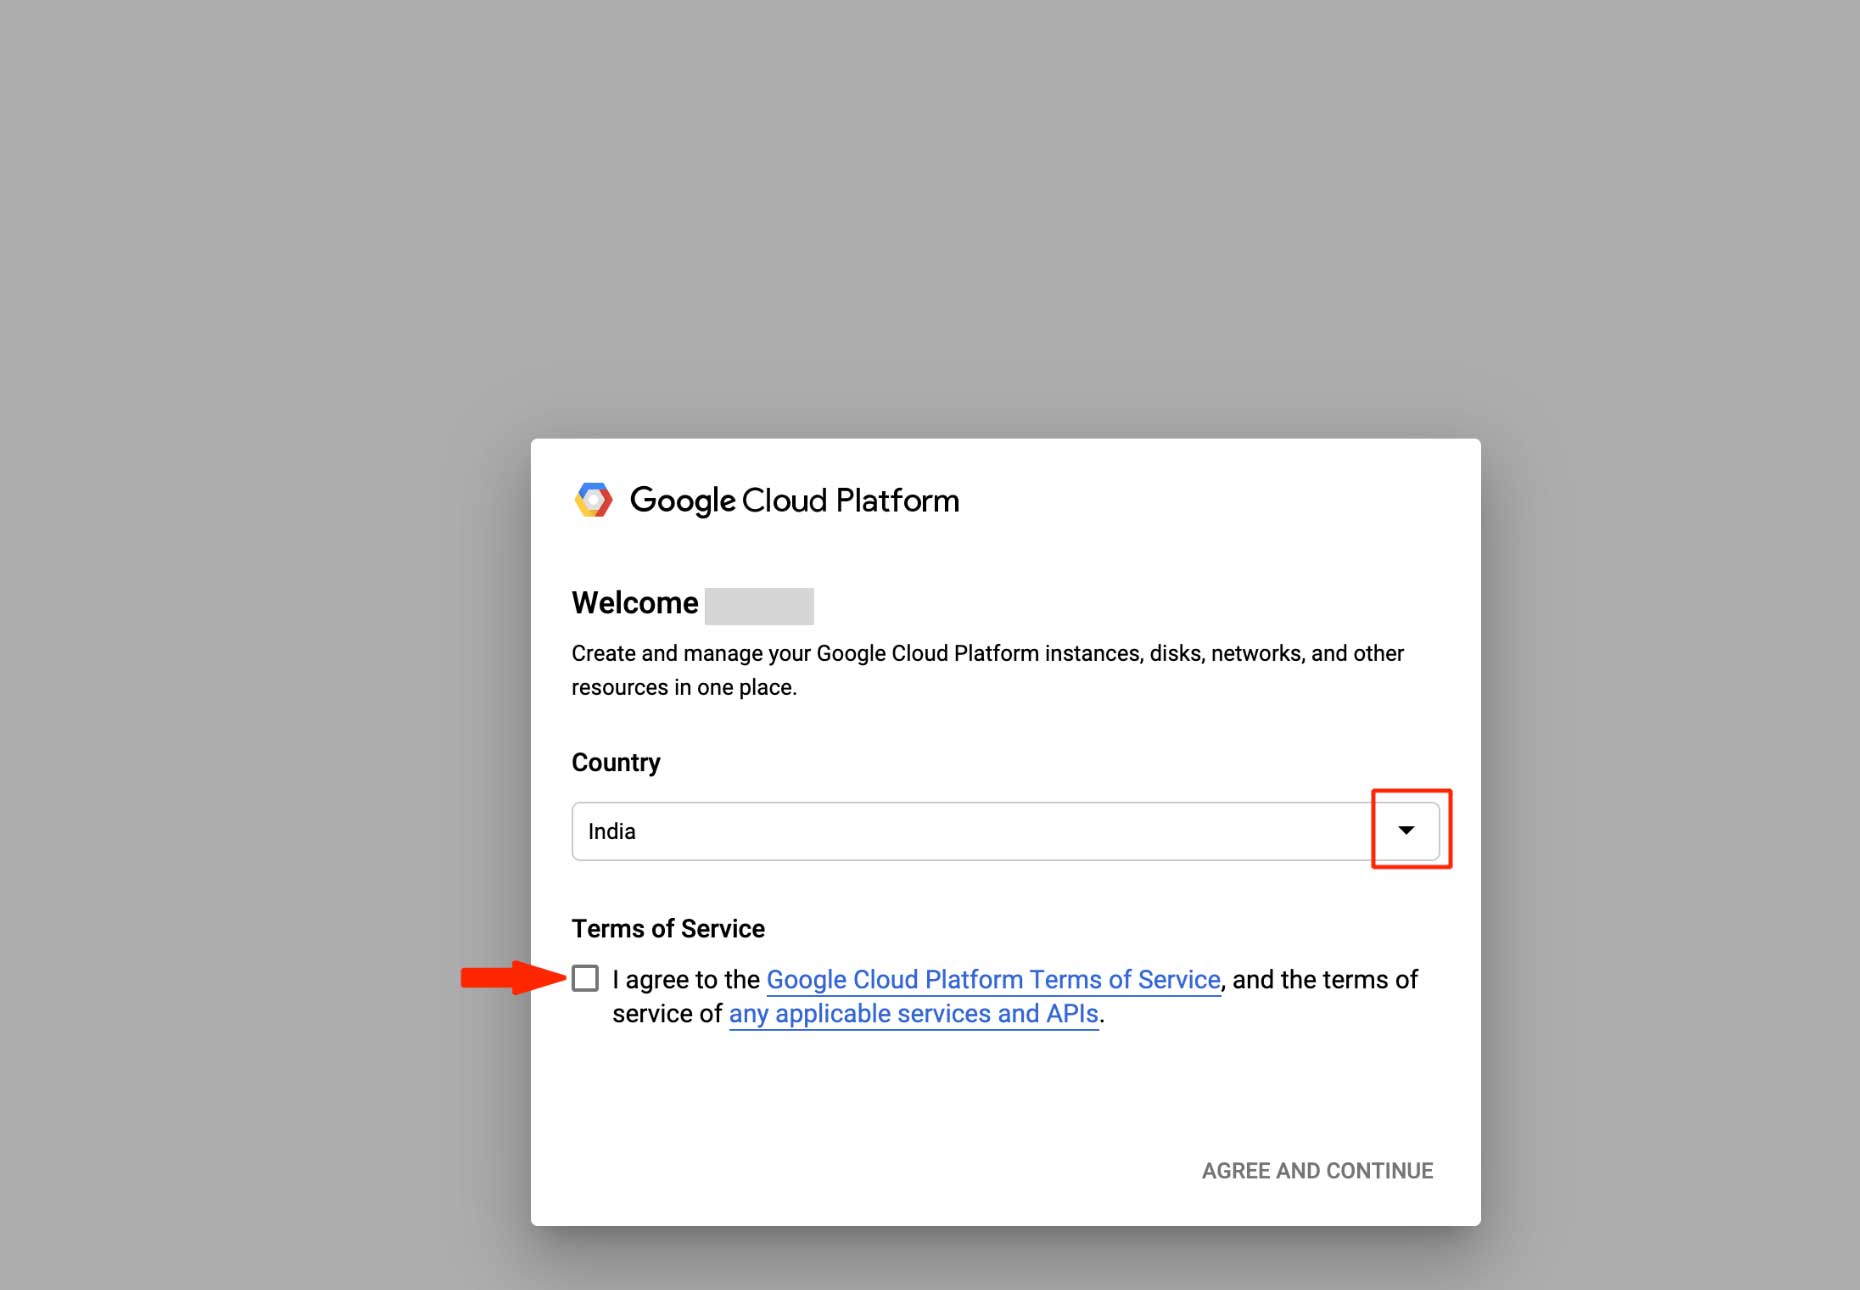
Step 3 : Click on Agree and continue

Step 4 : A default project titled as My Project will start reflecting in your account, if you want, you can continue with the same project and follow the tutorial from Step 7. However, you can also create your own new project. For creating a new project, click on My Project dropdown menu present at the top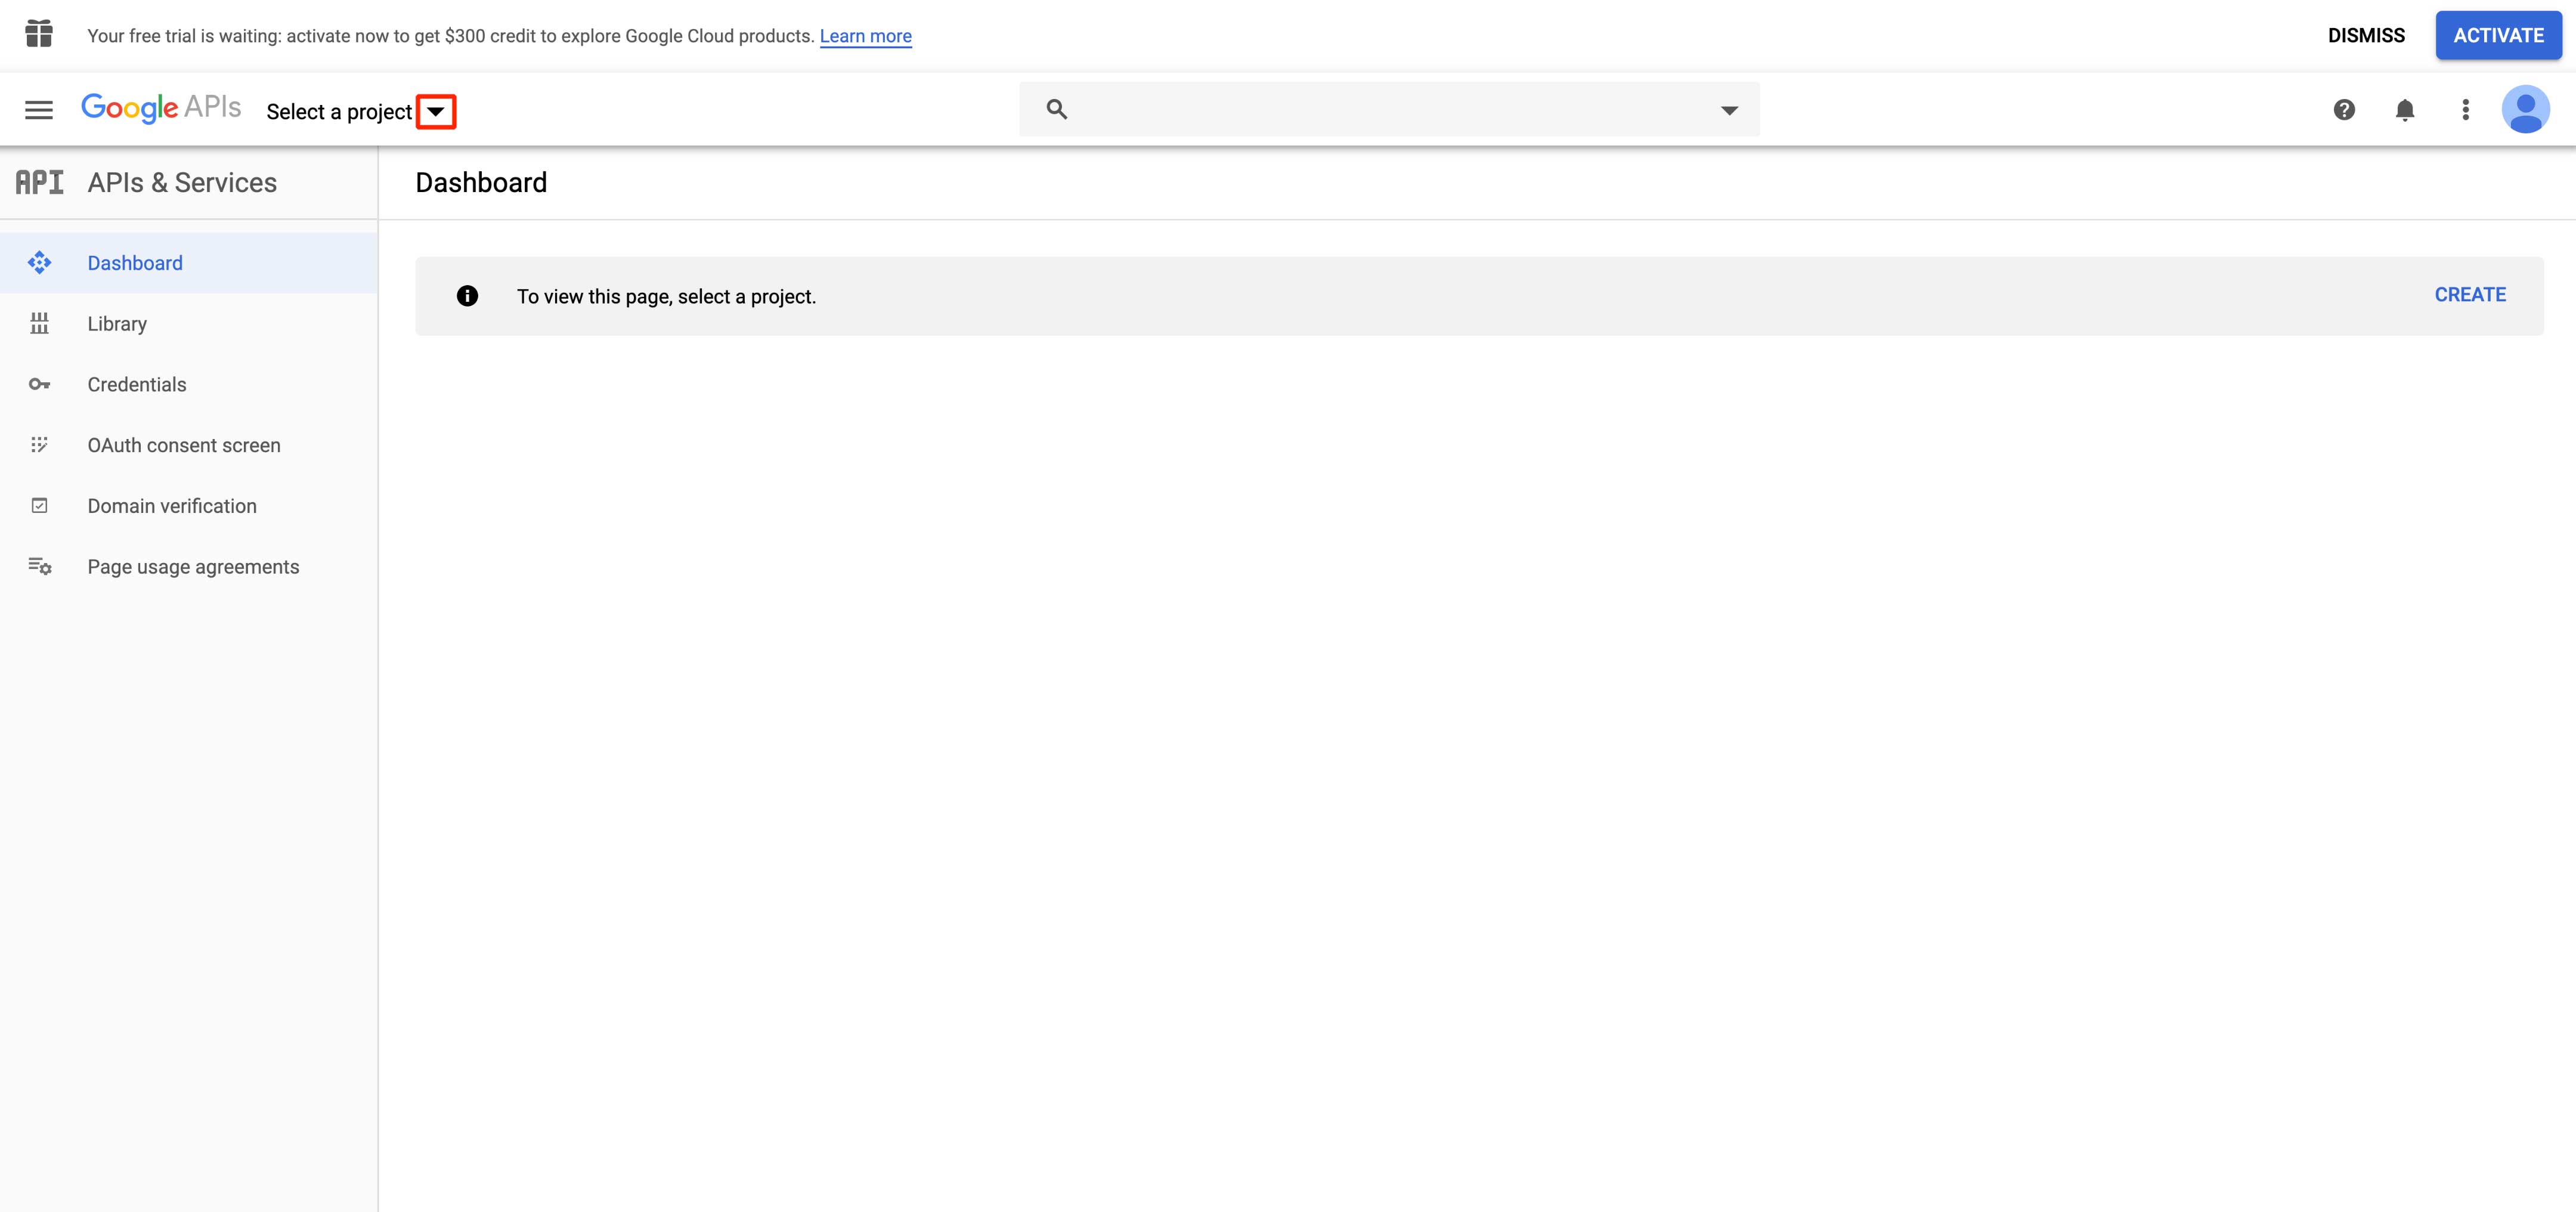
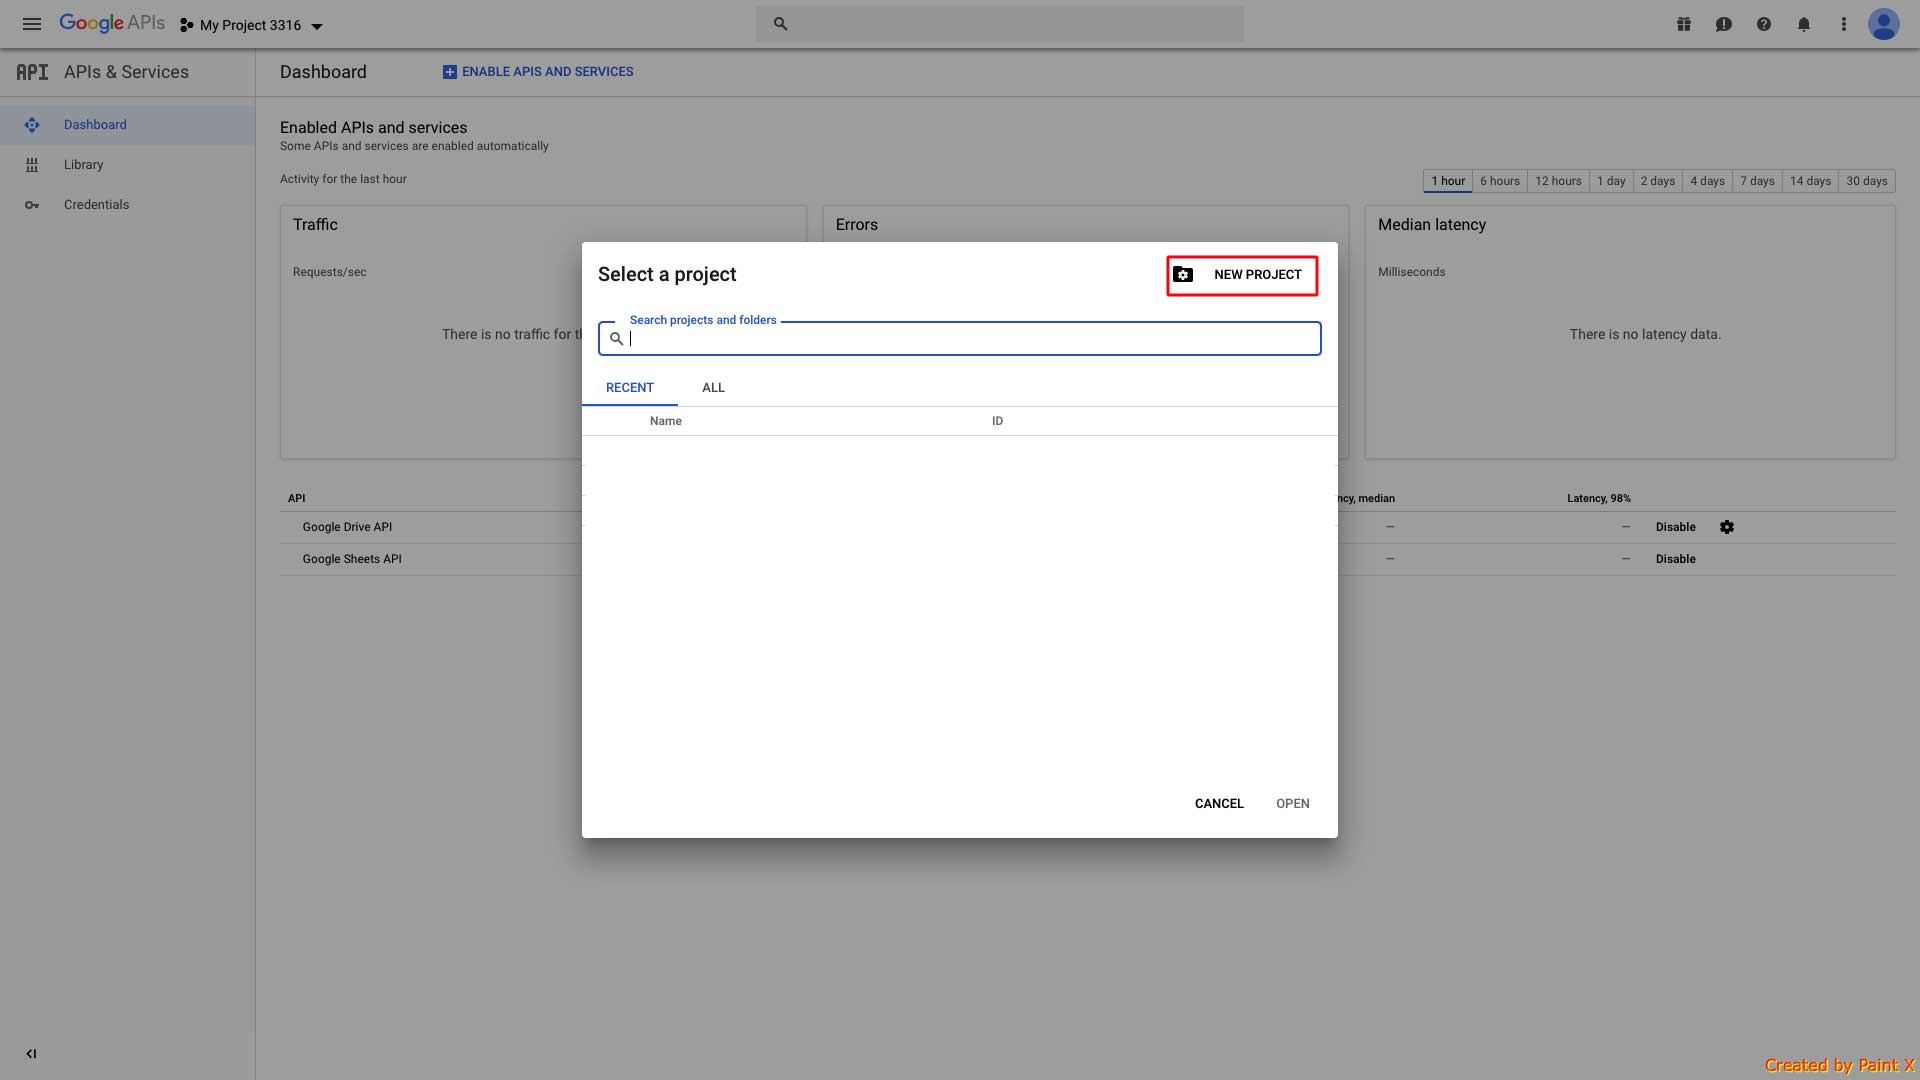
Step 5 : It will open select a project window, click on New Project
Step 6 : Here is your Project Name. Click on Create to continue
Step 7 : Click on My Project dropdown menu

Step 8 : Open the project that you have created

Step 9 : Click on OAuth consent screen tab

Step 10 : Select user type Internal or External as per your choice and click on Create button
 Step 11 : Enter Application Name and Authorized Domains.In the Authorized Domains field, enter the URL - appypie.com . If you want, you can add privacy policy link here

Step 12 : Click on Save

Step 13 : Select Library from side menu

Step 14 : Now you need to enable all the highlighted APIs, that is Google Drive API, Google Sheets API, Google+ API and Google People API. Here, we are showing you the process to enable Google Drive API, follow the same process for other keys

Step 15 : Click on Enable
Note : After enabling this API, your documents will be shown on the app

Step 16 : Click on Credentials

Step 17 : Click on Credentials in APIs & Services

Step 18 : Open Create Credentials dropdown menu

Step 19 : Click on OAuth client ID

Step 20 : Click on dropdownmenu
Step 21 : Select Web Application as the application type

Step 22 : Click on Add URl for both Authorized JavaScript origins and Authorized redirect URLs
Step 23 : In the Authorized JavaScript origins field, enter the URL - https://snappy.appypie.com While in Authorized redirect URLs field :
Enter URL - https://snappy.appypie.com/app/app-sheet if you are using Google Sheets page
Enter URL - https://snappy.appypie.com/app/document if you are using Document page
Note: Just for your information, you can use both redirect URLs as it will prove to be beneficial in future when you need to add another page

Step 24 : Your Client ID and Client Secret key will appear. Copy them

Step 25 : Paste the copied keys in the respective fields on the creator software

Note:
Case 1: (If you have added both redirect URLs in Step 20) If you have logged in into your Google Account, and connecting your Google Sheets with app, follow our tutorial:
Case 2: If you are connecting Google Sheets with your app via Google Sheet URL, you need to simply copy your Google Sheet public URL and paste it in https://snappy.appypie.com
Case 3: (If you have added only 1 redirect URL in Step 20) If you have added any of the Google Doc supportive pages ( like: Google Sheets or Document page), and want to add another page (Google Sheets or Document page) then you would need to fill verification update form