How to integrate AR Scanner for iOS into your app?
By Abhinav Girdhar | Updated on November 21, 2018, 7:36 am
Follow below mentioned steps to integrate AR Scanner for iOS into your app:
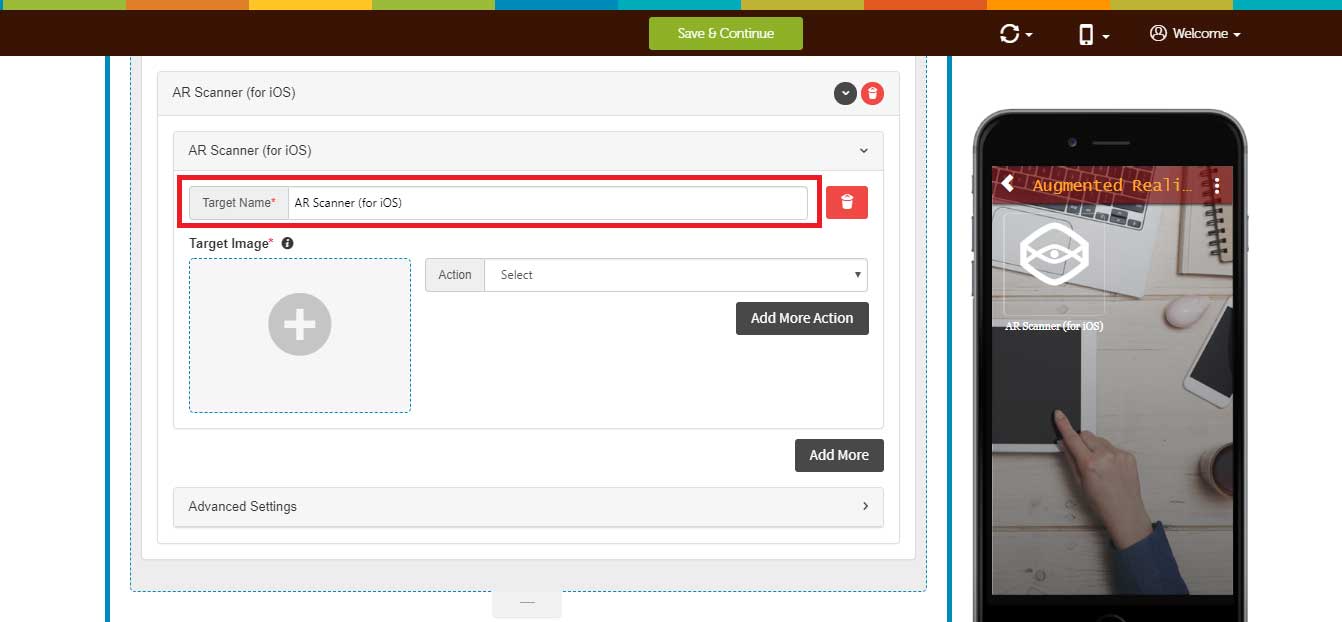
1. Enter target name. The target name is the menu name of your AR Scanner feature
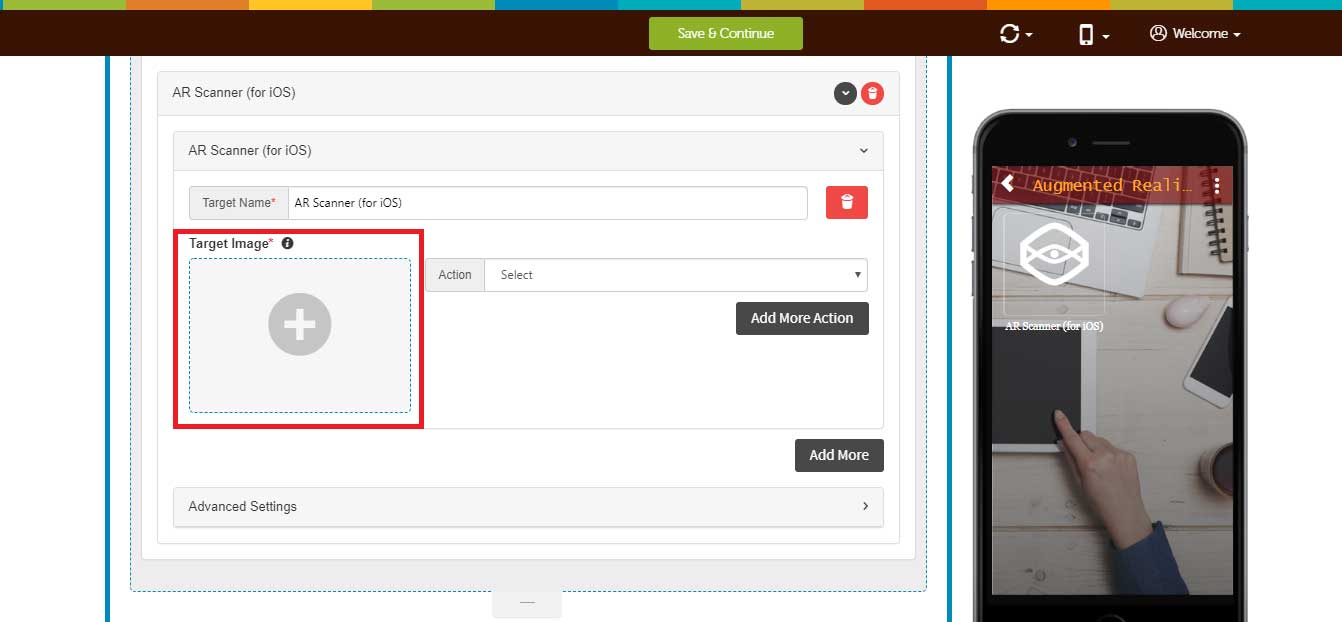
2. Now upload target image, the target image is the image on which the action will be performed whenever the app scans it.
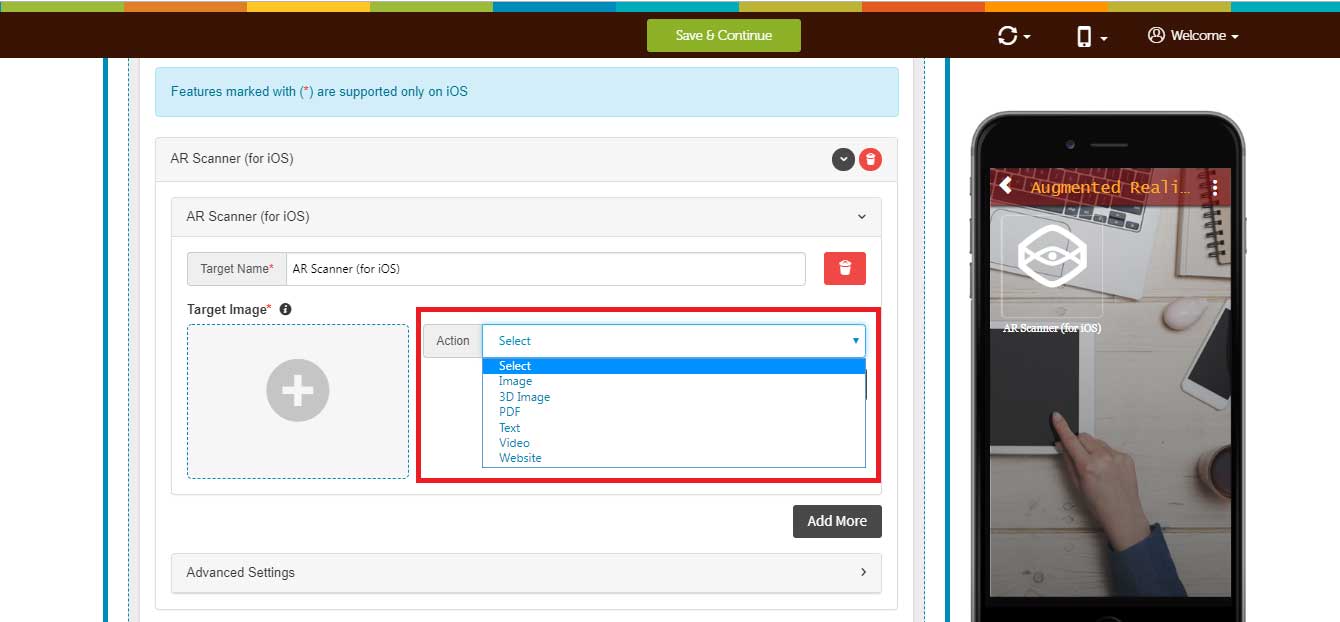
3. Here you will see Action dropdown menu – Image, Video, Text, 3D Image, PDF, Website. From here, you can add multiple actions for the same target image.
Actions
Image
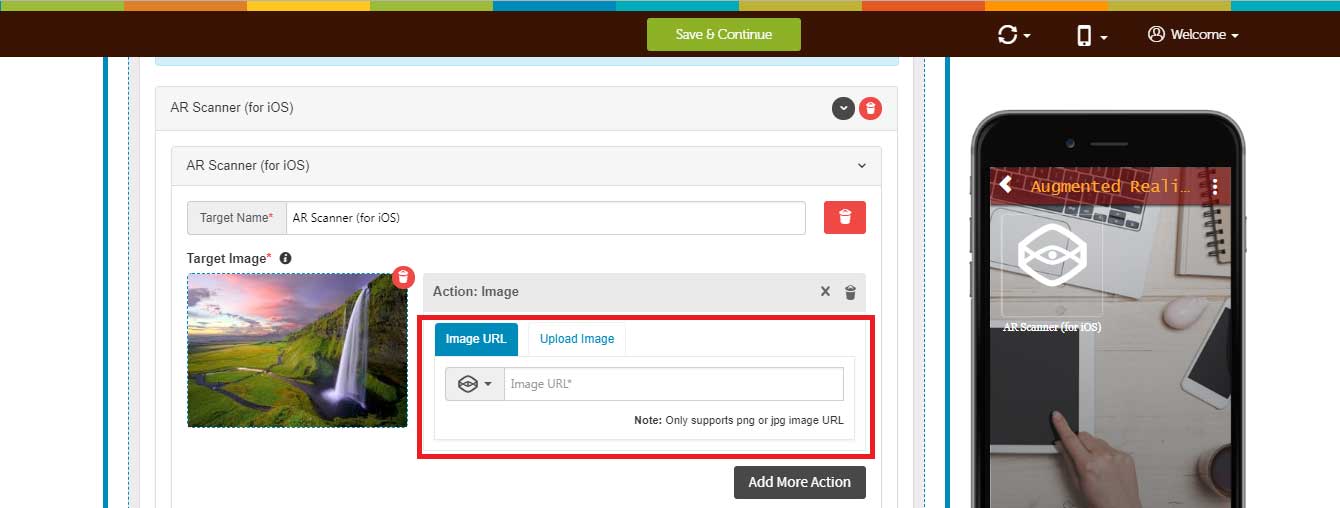
To enable image action, follow below steps:
- Enter Image URL
![]()
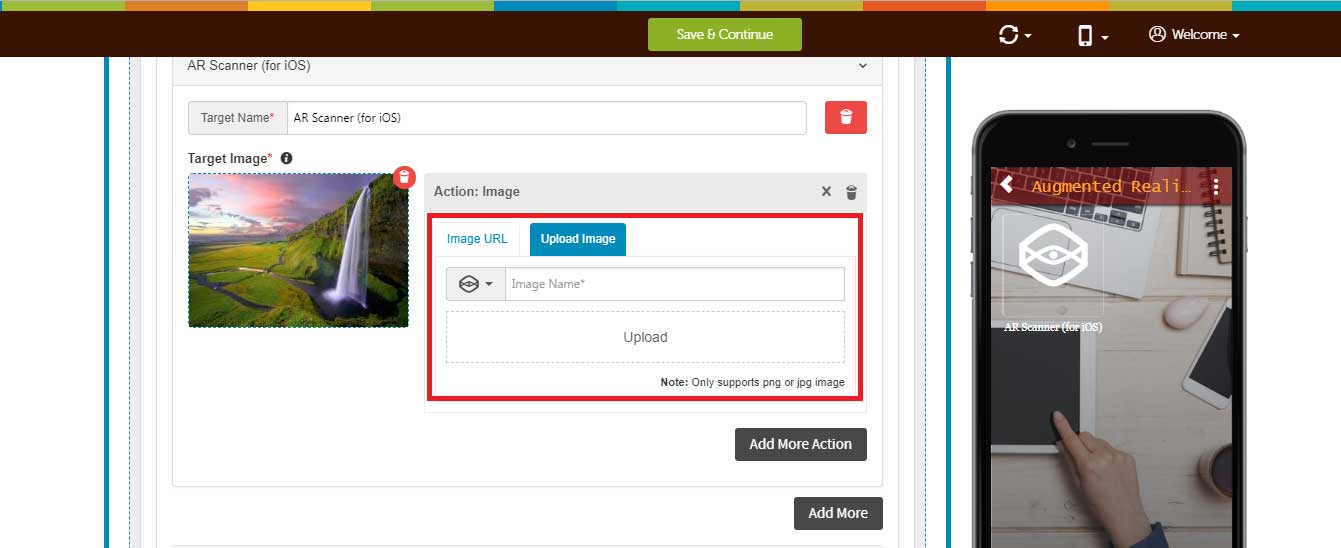
- If you want to add image from your device, click on Upload Image
![]()
- Enter image name, and click upload to select the file
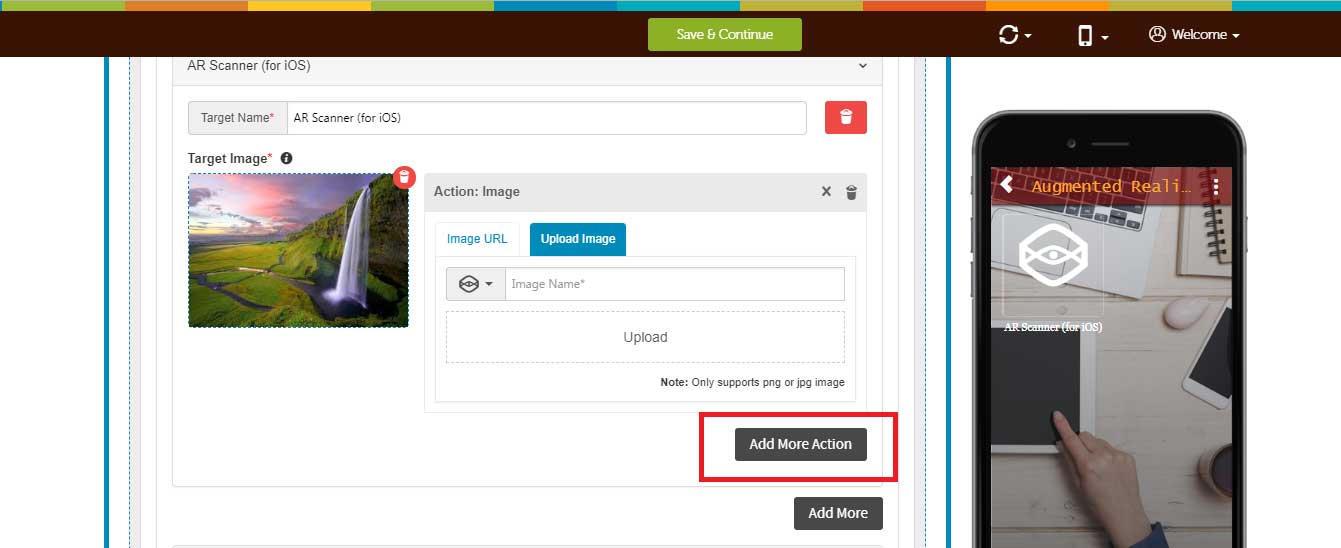
- Click on add more action button to add multiple actions
![]()
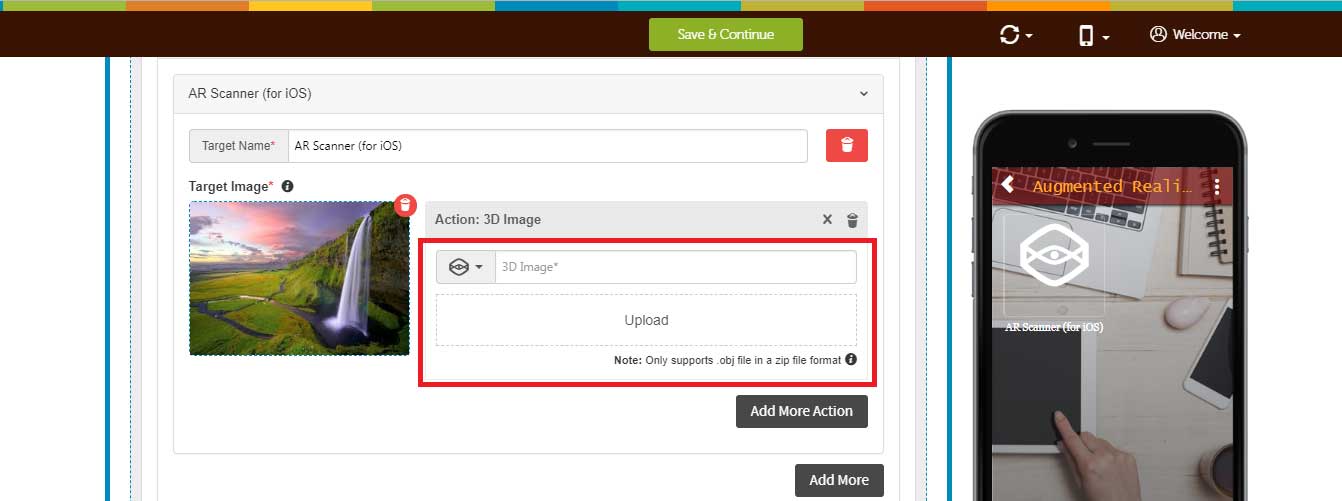
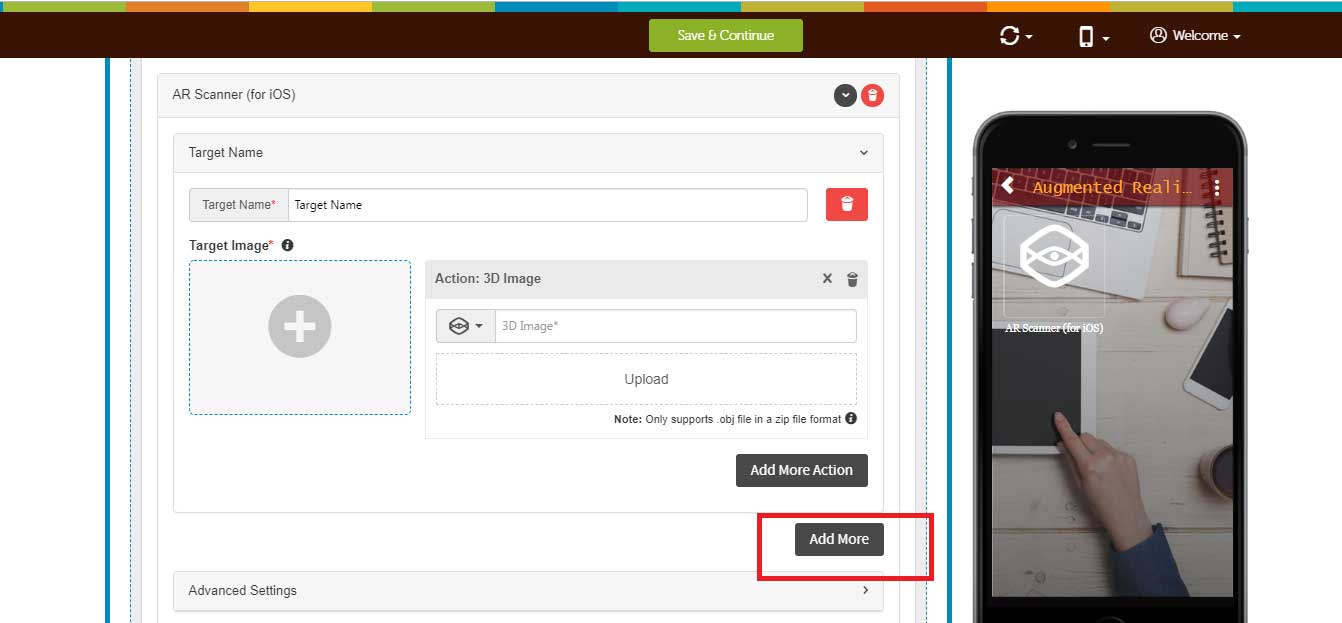
3D image
To enable 3D image action, follow below steps:
- Enter 3D image name
![]()
- Upload .obj file in a zip file format. Click here to know more about .obj file
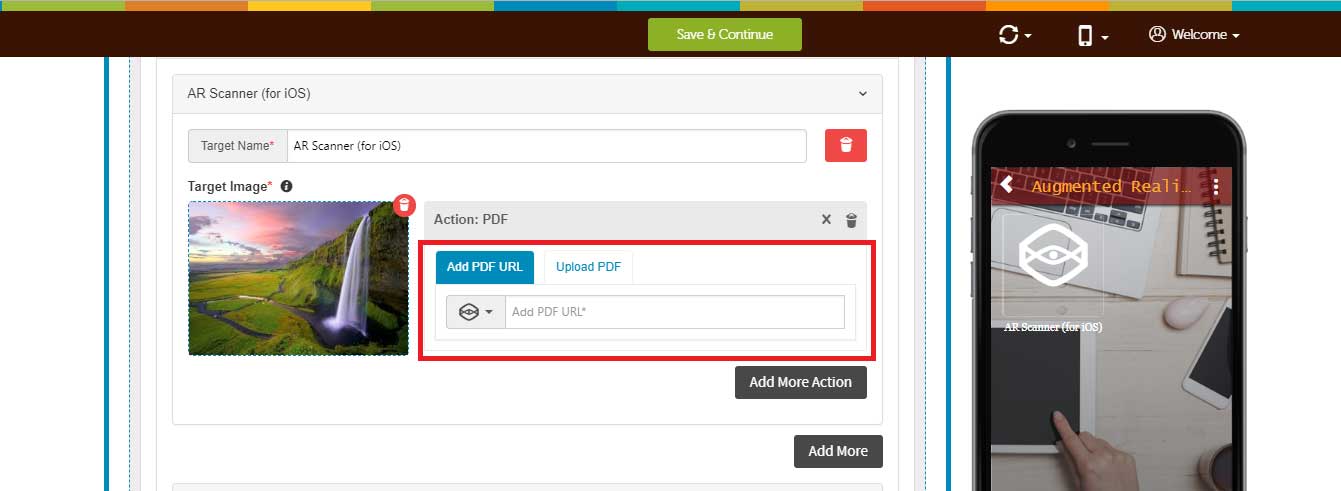
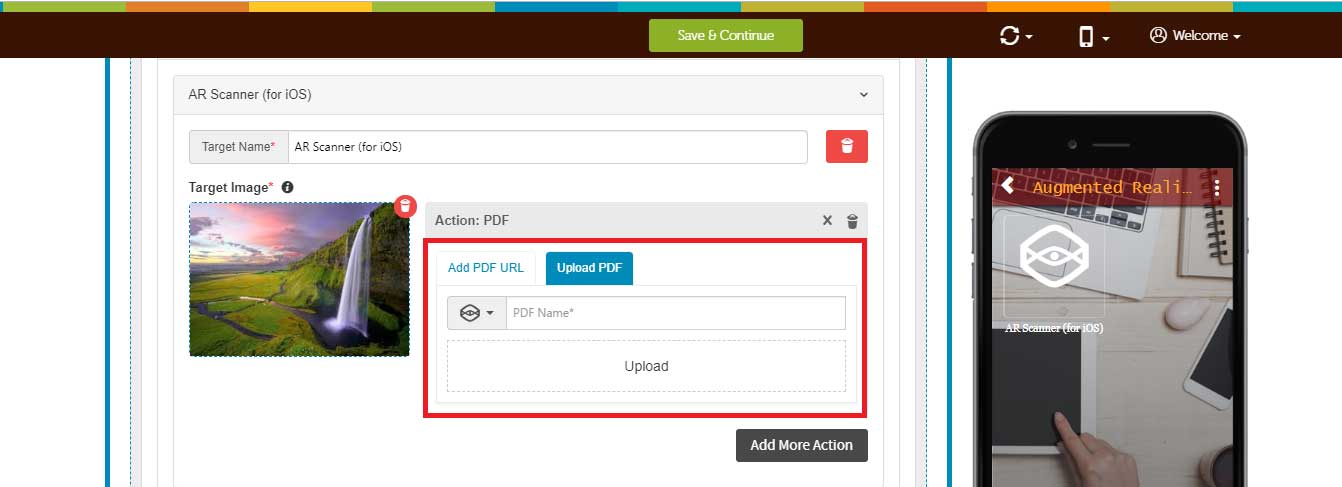
To enable PDF action, follow below steps:
- Enter PDF URL
![]()
- If you want to add PDF from your device, click on Upload PDF
![]()
- Enter PDF name, and click on upload to select the file from your device
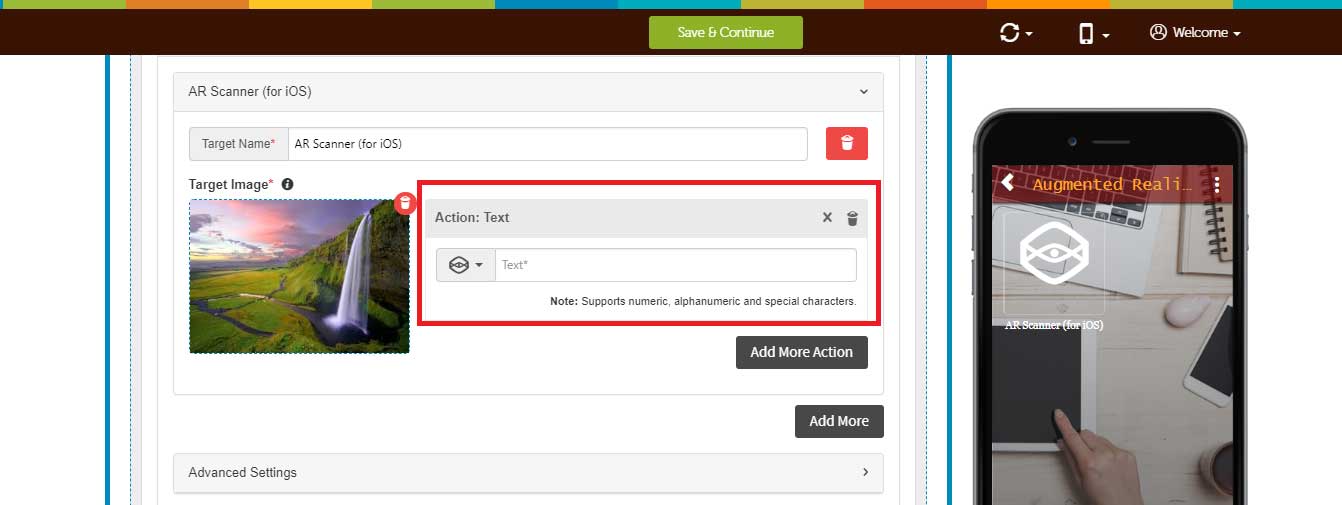
Text
- In Image Text section, enter the text that you want to display whenever the app scans the target image
![]()
Video
To enable video action, follow below steps:
- Enter Video URL
![]()
- If you want to add video from your device, click on Upload Video
![]()
- Enter video name, and click on upload to select the file from your device


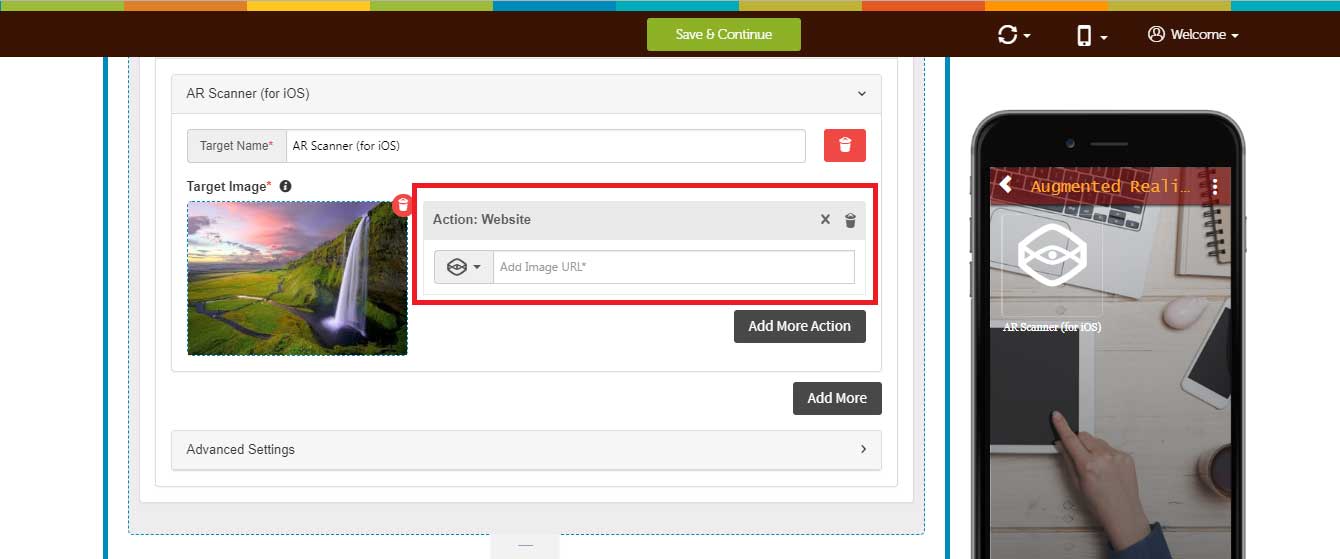
Website
- Enter your website URL, and you are good to go
![]()
Please Note: You can add multiple target images by clicking on Add more Button
Share this :
Was this article helpful?
Thanks for your feedback!
Was this article helpful?
Thanks for your feedback!
×